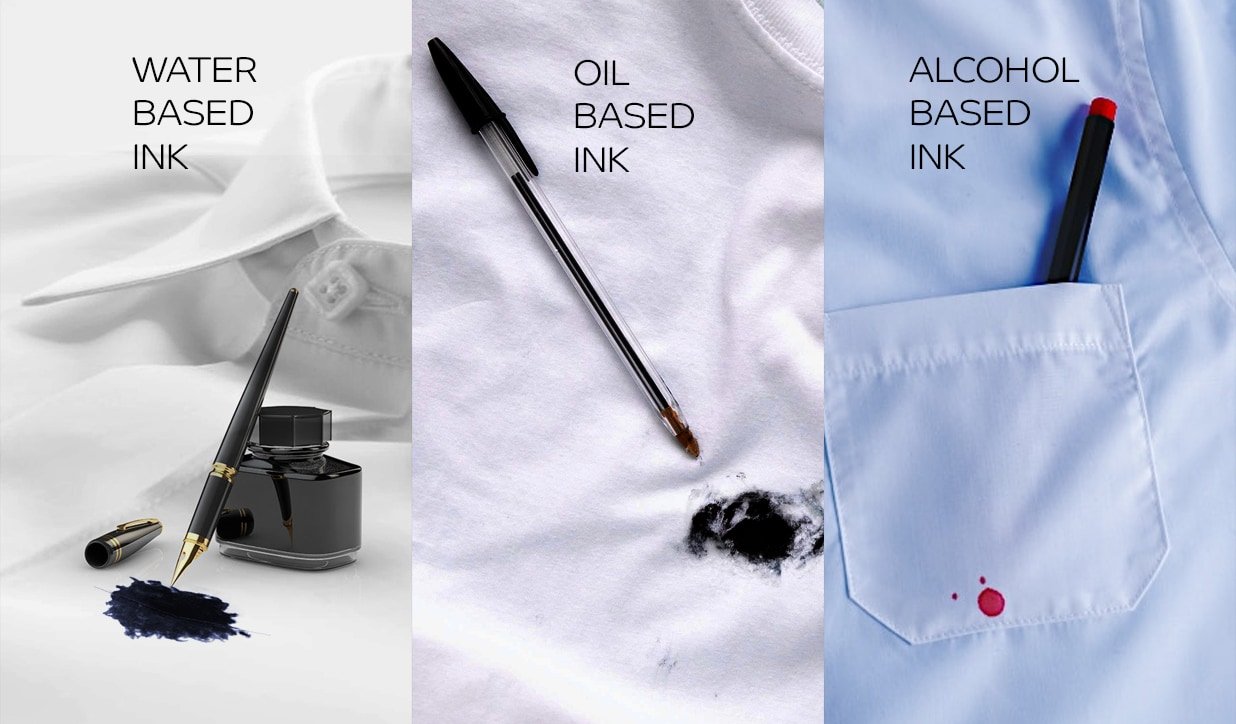


Master the Art of Sewing: How to Sew a Button Like a Pro
Sewing a button is a simple yet essential skill that can save you from wardrobe malfunctions and add a personal touch to your clothing. This guide will walk you through the process, from basic to advanced techniques.
Gather Your Materials
Before you start, ensure you have a needle, matching thread, and a button that fits your garment. A pair of small scissors and a thimble are also helpful.
Threading the Needle
Thread the needle by passing the end of the thread through the eye of the needle. Knot the end to secure it. Using a thread that matches your button will make your stitching less noticeable.
Button Sewing Techniques
There are several ways to sew a button, including the single knot method and the shank method. Each has its advantages, so choose the one that best suits your fabric and button.
Securing the Button
Once you’ve chosen your method, sew the button in place by making sure it’s secure and aligned with the fabric. A well-sewn button should not come loose easily.
Tips and FAQs
A study by the American Sewing Guild found that 70% of people who sew their own buttons report increased satisfaction with their clothing’s durability. Use a reinforced stitch for heavy fabrics to ensure longevity.
*Source: American Sewing Guild
Final Touches
After sewing, trim any excess thread and inspect your work. A well-sewn button not only functions as a closure but can also be a stylish embellishment.
In conclusion, sewing a button is a versatile skill that can enhance both the functionality and aesthetics of your garments. With practice, you’ll be able to tackle any button-sewn project with confidence.