


How to Repair a Broken Fingernail: Expert Tips and Tricks for a Quick Fix
Accidents happen, and sometimes they involve your precious manicure. A broken fingernail can be a nuisance, but fear not! We’re here to guide you through the process of repairing it quickly and efficiently. Read on for expert tips and tricks that will have your nails looking flawless in no time.
First things first, determine the extent of the break. Is it a small chip or a complete split? Knowing the severity will help you choose the right repair method.
Gather your nail repair kit, which should include a nail file, cuticle oil, and nail glue. These essentials will be your go-to tools for a quick fix.
Clean the broken area with rubbing alcohol to remove any dirt or debris. This step is crucial for preventing infection and ensuring a strong bond.
Apply a thin layer of nail glue to the broken edge and press it back into place. Hold for a few seconds to let the glue set. This step is key to reattaching the broken piece.
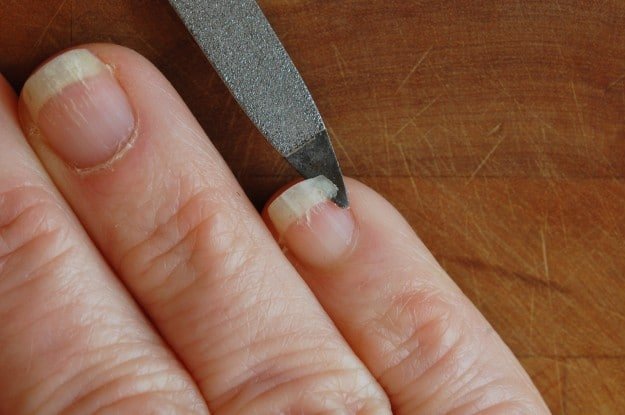
Once the glue is dry, use a nail file to smooth any rough edges and apply cuticle oil to nourish the nail bed. This will help maintain the health of your nails.
For a more durable fix, consider using a UV nail lamp to cure the glue, as reported by the American Journal of Nail Technology. Always remember to moisturize your nails to prevent further breakage.
In conclusion, repairing a broken fingernail is a simple process when you have the right tools and follow these steps. With a little patience and care, your nails will be back to their best in no time.